Using the App
Before you start
You should have now signed into the mobile app – if you haven’t, click here for a guide on how to do this.
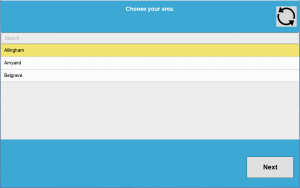
1. Select your service
Now that you’ve signed in and connected the app to your services, you can start entering data.
If the tablet was connected to more than one service, you’ll need to select your desired service and press “Next”.
2. Select your project
You’ll then be presented with a list of projects that are available to this service – this list is controlled by your administrator, who can add and remove projects over time. You should only see projects that apply to your service.
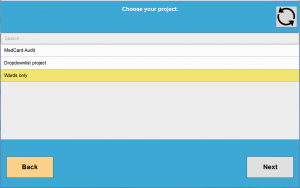
Select a project and tap “Next” – this will open it.
Simply press start to begin, and complete all questions. Once finished, you’ll come back to the start page.
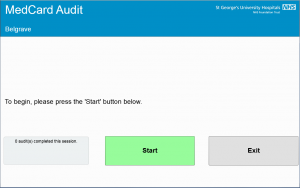
If you’re completing an audit, you’ll receive feedback on the number you’ve completed so far and whether they were uploaded (if you’re online) or saved on the device (if you’re not connected to the internet). Any records saved on the device will be automatically uploaded when the device is next connected to the internet.
3. Changing projects
When you’d like to complete another project, simply press “Exit” to return to your list of projects. If you have a patient survey open, you’ll notice that the “Exit” button is missing.
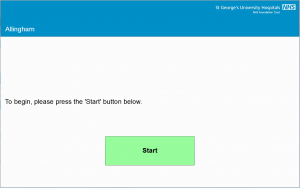
This is so people completing the survey can’t easily exit it, and access other projects. To exit a survey, tap the blue area along the top of the screen 5 times – an exit button will then appear.
This is so people completing the survey can’t easily exit it, and access other projects. To exit a survey, tap the blue area along the top of the screen 5 times – an exit button will then appear.