Launching Campaigns
Once the campaign has been created and reviewed it is ready to be launched.
Each type of campaign (Web / Email / SMS) behaves slightly differently. Lets look at each of these in turn:
1. Web Campaign
Web campaigns allow you to share the survey via a link. One link can be generated for all groups or separate links generated for separate sub-groups. Links can also be shared in the form of a QR code.
Launching a web campaign:
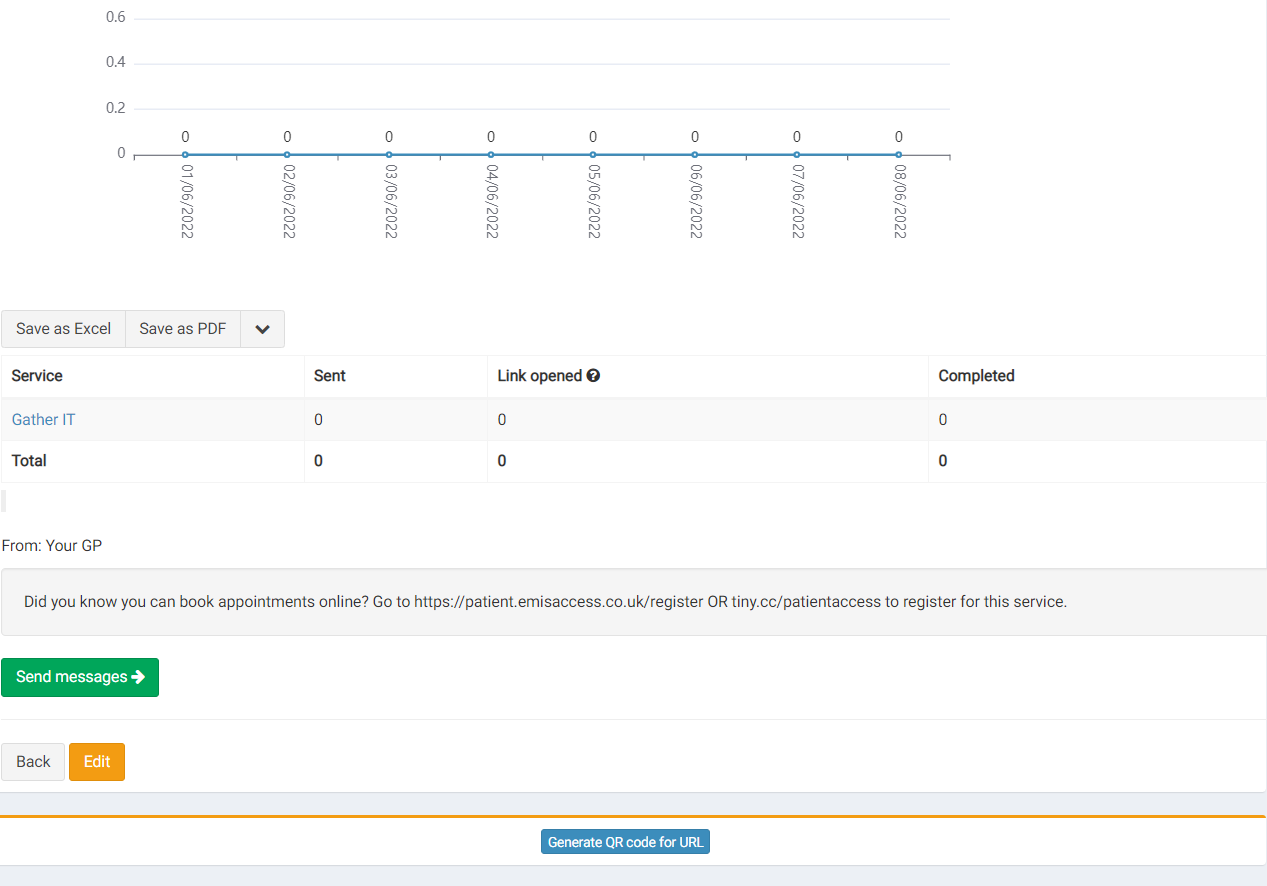
Click on the campaign heading to access the campaign homepage. From here you can view your data, edit your campaign and generate links to your campaign.
To copy the link to the survey simply click on the green copy button next to the link. This link can then be shared as required.
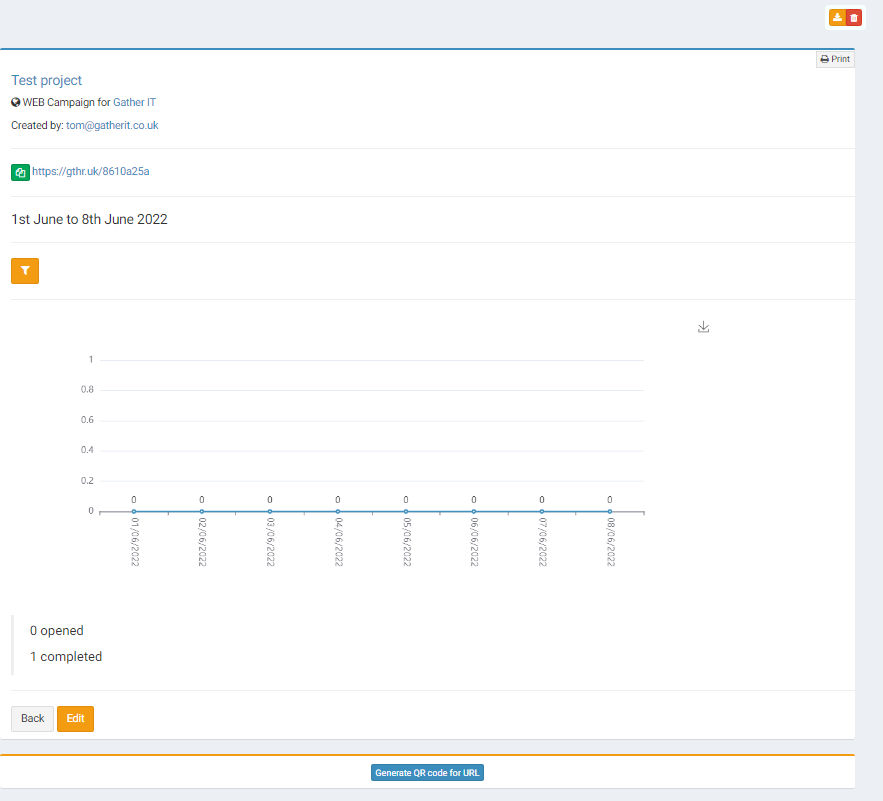
To generate a QR code click on blue button under the graph "generate QR code for URL".
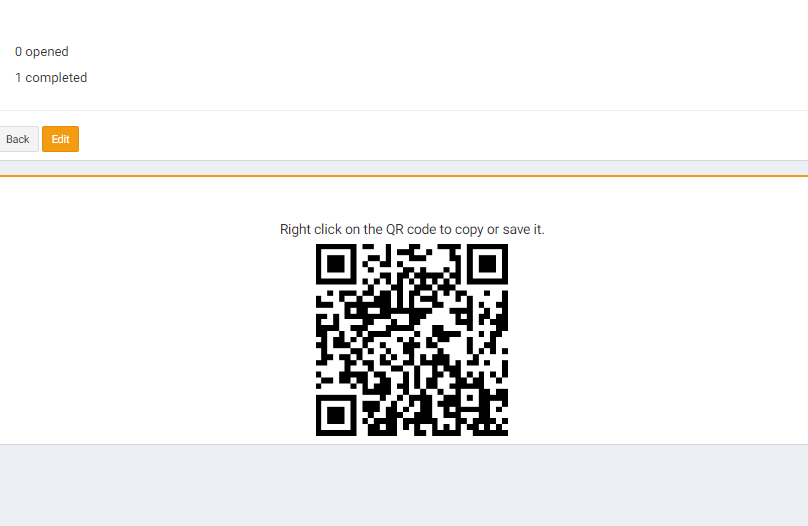
By clicking on the "generate QR code" button, a unique, high resolution QR code is created for the survey. This can be copied and pasted as required and is especially effective in printed material such as posters and leaflets.
2. Email Campaign:
Launching an Email Campaign:
Email campaigns enable the survey to be sent directly to a predefined list of participants.
This list is defined when the campaign is created (under the “what services do you want to include” heading). The email list is prepopulated by the data already stored within the system, for example “Delivery Suite” will include the email addresses of all the members of the delivery suite team. If this needs to be updated this can be done through the campaign editing tool under "what services do you want to include". See editing campaigns for more information on how to edit a campaign.
To test the campaign before launching, enter only your own email address in the “Include” heading and click on the “update” button. Then click on the “send campaign” button. This allows you to see the campaign as a recipient would and view to test data entered.
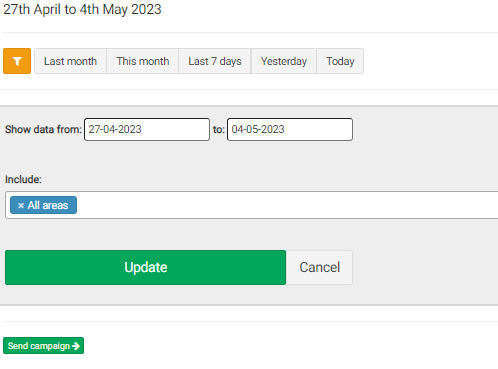
When you are happy that all is as it should be, change the email list back to include the required teams/areas and hit update. Then click the “send campaign” button.
SMS Campaign:
The SMS campaign homepage is similar to an email campaign homepage but with the added functionality of being able to manage the SMS credits.
SMS credits can be purchased through your Account Manager in the the Gather team and will need to be applied to your account before they can be used in your campaigns. Please contact your Account Manager to set this up for you.
SMS credits can be set to unlimited, added manually, removed manually, or reset in this section.
In the below example you can see that 10 credits have been added. Credits can be removed by pressing the red " reset" button, or set credits to unlimited using the blue infinity button.
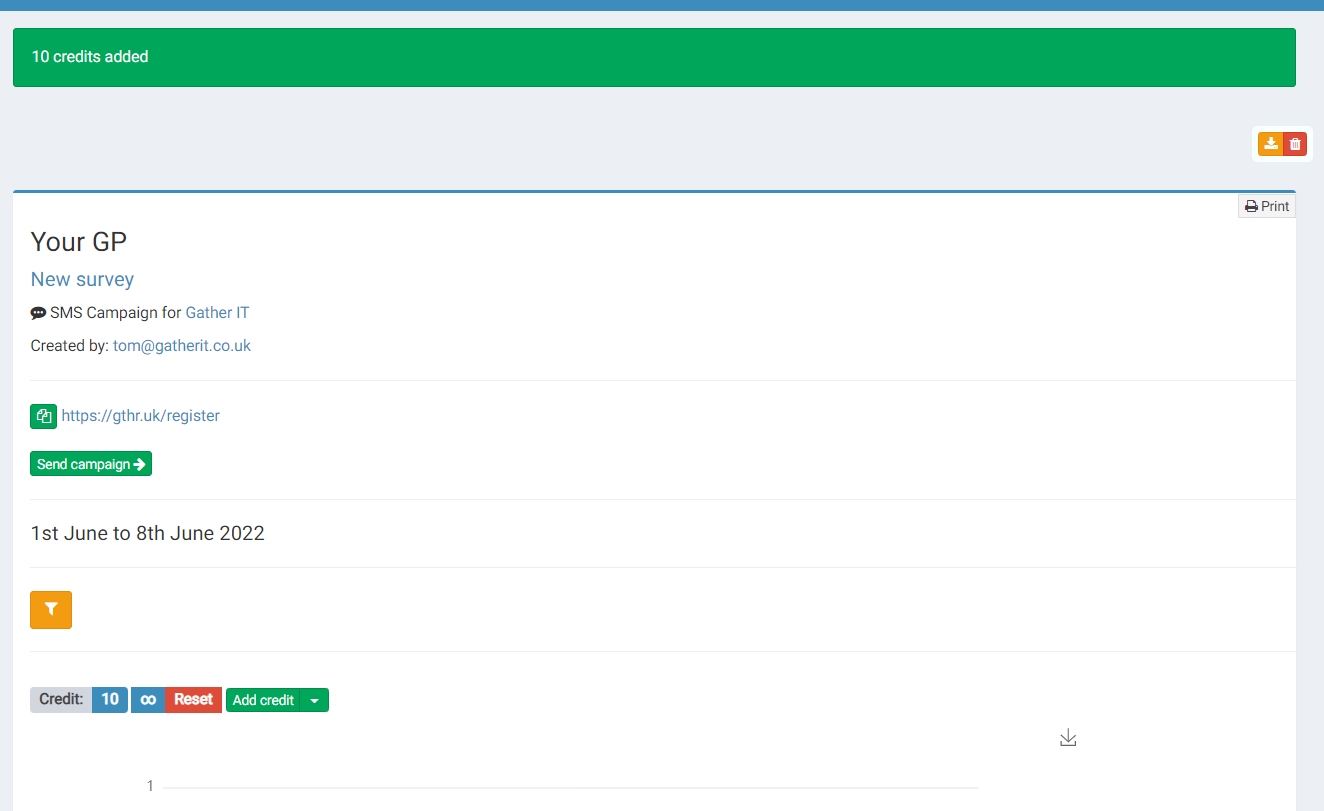
The list of campaign respondents and the accompanying SMS message can be updated through the “edit” link at the bottom of the page.
Once the campaign is launched, the results are instant and in real time.
Learn more about viewing campaign results here.