Creating projects
- To create a new project click on the “New” tab on the projects page.
- First, name the project. This should be a unique name so its not mixed up with other projects.
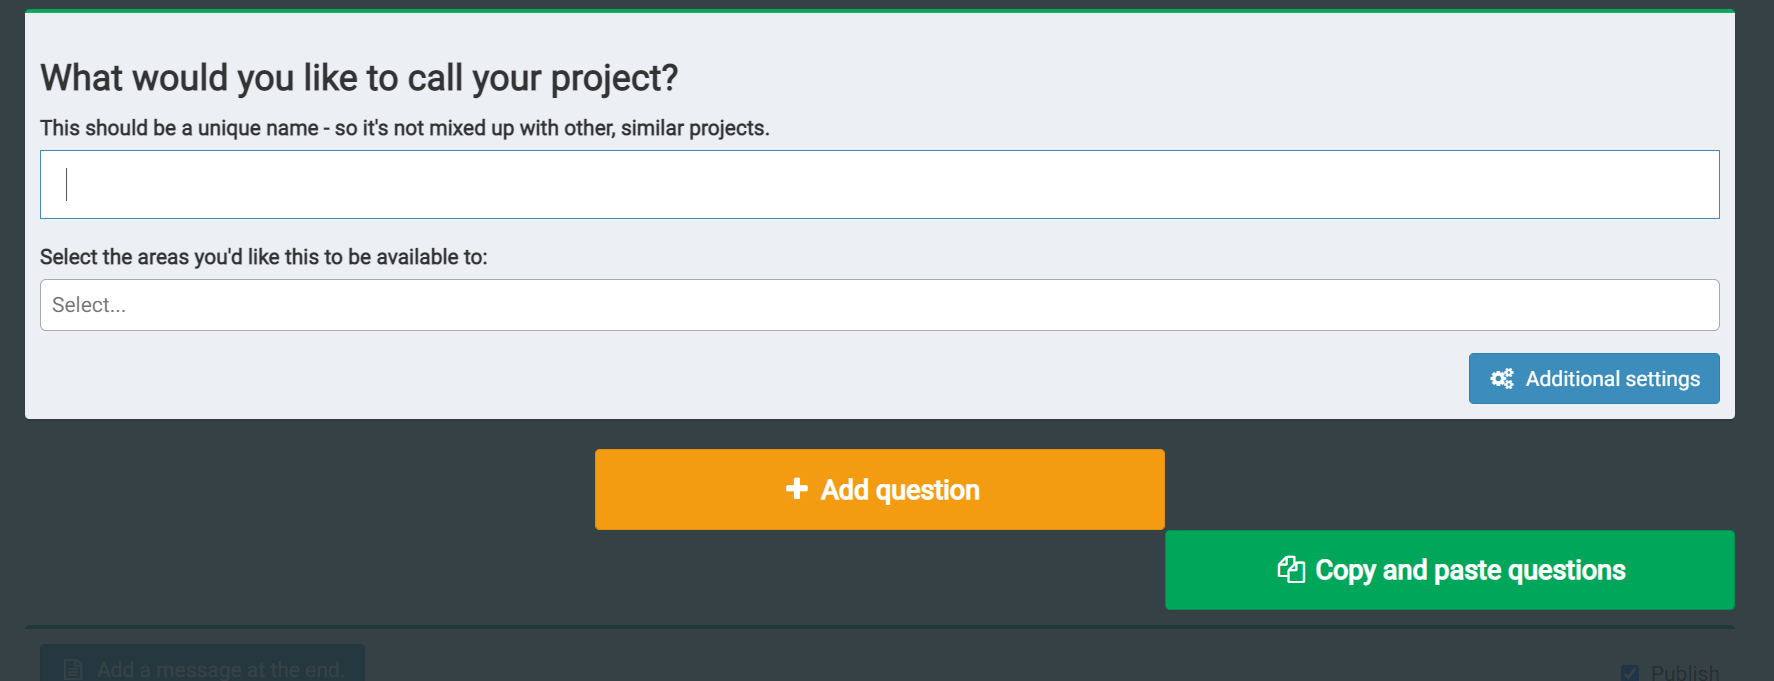
3. Using the drop down menu, select the areas of your organisation that should have access to the project.
💡 Top Tip: Once saved, the project will be viewable by departments that you select and all departments that sit under that. If you are not sure of that section of your hierarchal structure, and want to assess it before choosing, this can be done by selecting the “services” menu item. This is a useful interactive page which allows you to drill down to see all areas within your organisation.
- Next, click on "Additional settings" to add more details to the project.
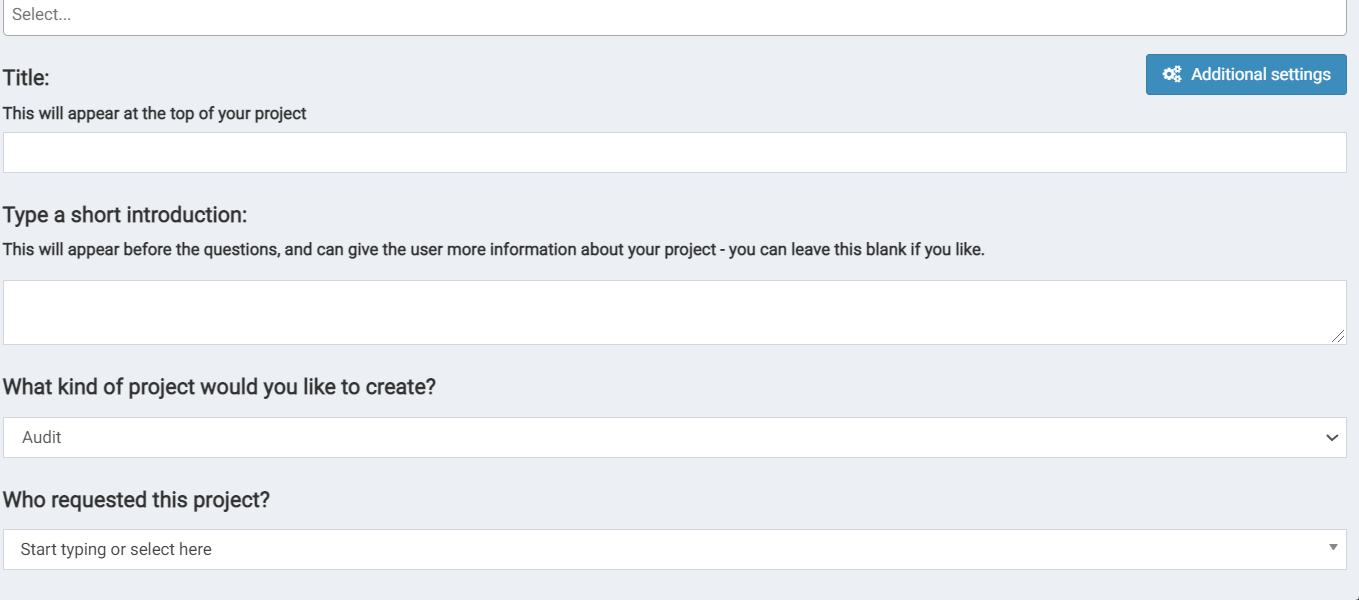
Here you can:
- Add a title to the project - this will appear at the top of the project and is the public facing name.
- Add a short introduction - This will appear before the questions, and gives the respondent more information about the project, this can be left blank if preferred.
- Confirm the type of project, be it an audit, survey, test, etc. This automatically defaults to audit as this is the most common choice. Other types of project include forms, surveys, staff surveys or tests. For more information on the types of project available see Types of Project
- Include information on who requested the project by choosing from the drop-down menu or by typing the name required. Again, this can be left blank if preferred.
- Once the basic information has been added, it’s time to add the questions. Each question can be added individually by clicking the “add question” button, or, if there is already a list of questions available, these can be uploaded in bulk using the “copy and paste questions” option. Lets go through each option separately.
OPTION ONE: Adding questions individually

To add questions individually click on the “add question” button. Enter the question and the question type from the dropdown menu.
For this example, lets use a multiple choice question:
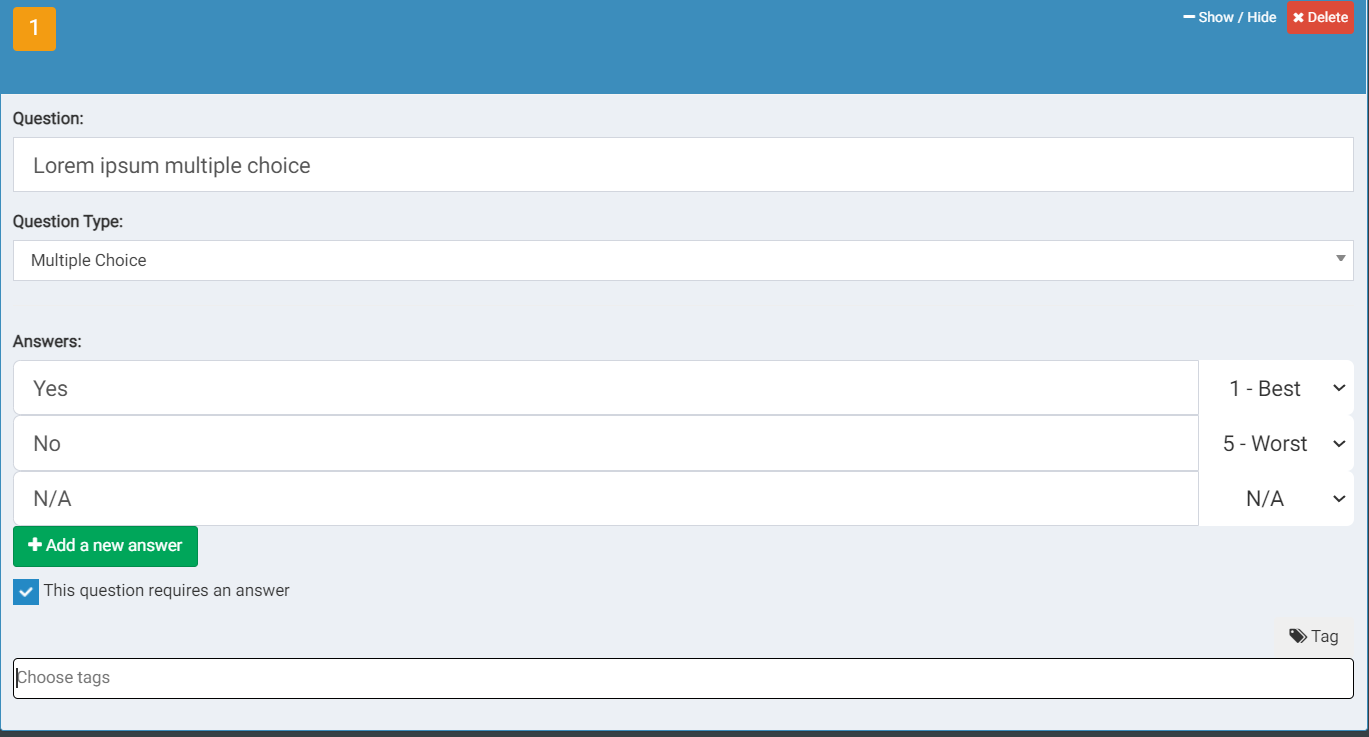
- Type the question into the first text box.
- Confirm the question type, in this case multiple choice. For more information on the types of questions available and when to use them see “Types of Questions”
- The Answers section can be customised to requirements. Include as many answer options as needed. This example illustrates a yes / no / NA answer, but it could be strongly agree / agree / disagree / strongly disagree, for example. Make sure that all answers are weighted where possible, with 1 being the best answer, and 5 being the worst.
- Tick the "this question requires an answer" button if the question is mandatory.
- Choose tags - choose from a predefined list of tags for the question, this section can also be left blank if you wish and updated later. (More information on creating tags can be found here.)
💡 Top Tip: Tagging allows certain questions to be grouped into certain reports and is a very useful tool when analysing the data and creating dashboards. Include as many tags as required to allow for more meaningful data analysis.
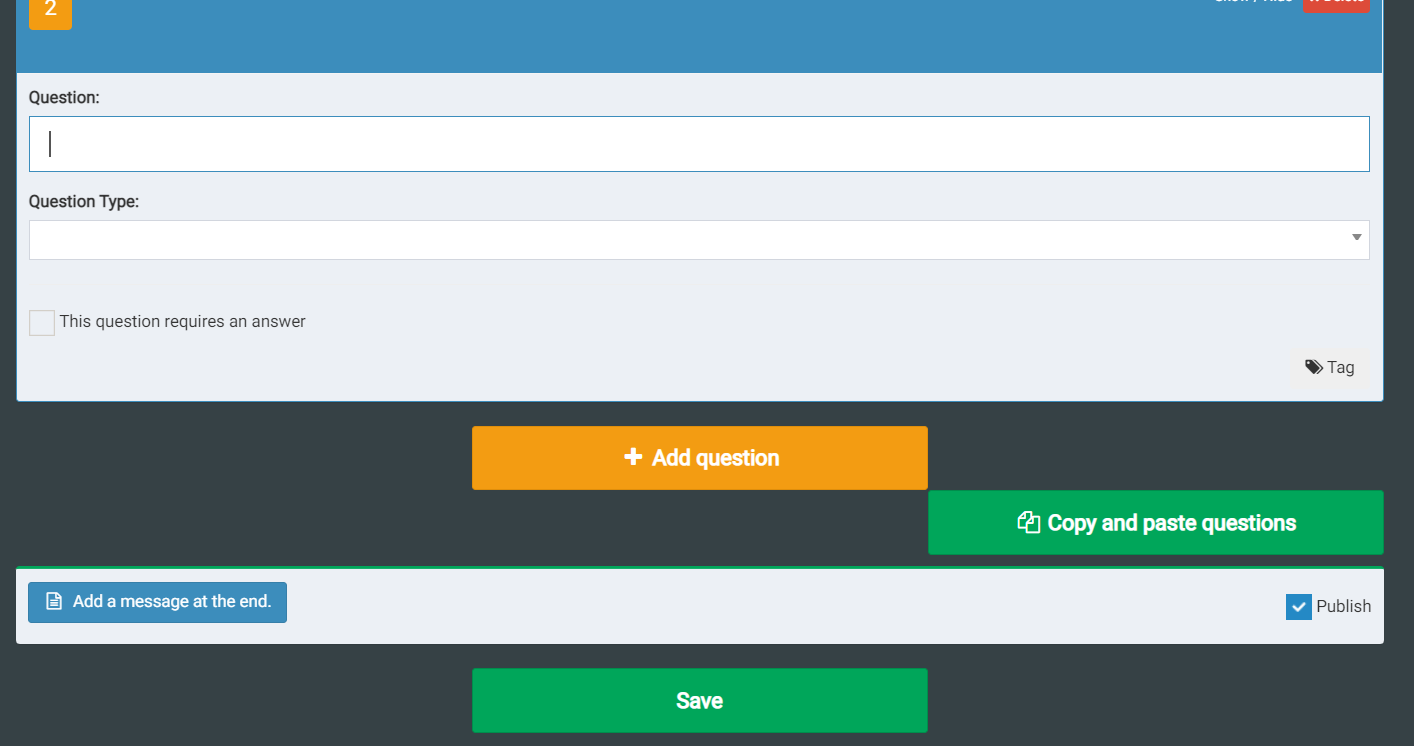
- Click on “Add question” to add the next question and continue until all questions are added.

OPTION TWO : Adding questions using the copy and paste function

If a pre-existing audit is available then all questions can be added to the system all at once using the copy and paste tool.

To use the "copy and paste" function efficiently all questions must have their own separate line. Questions should also have the same answer options. If they don’t, then just continue to upload as normal but remember to use the editing tool afterwards to update the answer options as required. In the example above all of these questions are multiple choice and have a Yes/No/NA answer option.
Click "add questions" to upload the questions to the system and then hit the save button.
The order/ weighting / wording of both questions and answers can then be updated using the “edit” tool. For more information on this see the how to "Edit" guide .
💡 Top Tip: Weighted answers can be added quickly by using hashtags directly after the answer (as illustrated in the above screengrab) with #1 being the best ranking and #5 being the worst ranking. This saves on having to go back and edit each of the weightings individually afterwards.

“Add message at the end”; this message will appear to the respondent once they have completed the audit. Including a message such as “ Your data has been submitted, thank you” gives the user reassurance that their data has been successfully collected.
Publishing your project
At this point you can choose whether to publish your project (making it available to everyone) or to leave it unpublished (so only you can see it) .
Ensure the “Publish” button is unticked if you are not ready for your audit to go live. If you are ready for it to go live, tick the “publish” button and hit save.
Congratulations, you are now ready to start collecting your data!